Understanding Your Internet Connection and Modem
To establish a reliable home Wi-Fi network, it is essential to grasp the fundamentals of your internet connection and the role of the modem in your network setup. The primary types of internet services you may encounter include Digital Subscriber Line (DSL), cable, and fiber optic connections. Each type utilizes different technologies to deliver internet service, which affects speed, reliability, and overall performance.
DSL utilizes existing telephone lines to provide an internet connection. It generally offers lower speeds compared to cable and fiber but can be sufficient for everyday usage such as web browsing and stream video content on one or two devices simultaneously. In contrast, cable internet works over coaxial cables, often used for cable television services. It can provide faster speeds than DSL, making it a popular choice for families or households with several internet-users needing extensive bandwidth.
Fiber optic internet represents the latest technology, transmitting data as light through thin strands of glass or plastic. This type offers the highest speeds and greatest reliability, making it ideal for heavy users who require swift download and upload capabilities. Evaluating which service is available in your area and the type that would best suit your needs is essential.
The modem in your setup is a critical device that translates the digital signals from your ISP into an analog signal your home network can understand. Identifying which type of modem you have is straightforward; most devices will have a label indicating the model and specifications. Standard modems will connect directly to your ISP via a coaxial or phone line, while modem/router combos integrate both functionalities into one device. Understanding the workings of your modem will enhance your ability to troubleshoot any issues and ensure an efficient and effective home Wi-Fi network.
Installing Your Router
Installing your Wi-Fi router properly is essential for establishing an effective home network. The first step is to choose an optimal location for your router. Ideally, the router should be positioned in a central area of your home, away from walls, large appliances, and electronic devices that might cause interference. Placing the router high off the ground, such as on a shelf, can also enhance coverage, allowing the signal to propagate better throughout your living space.
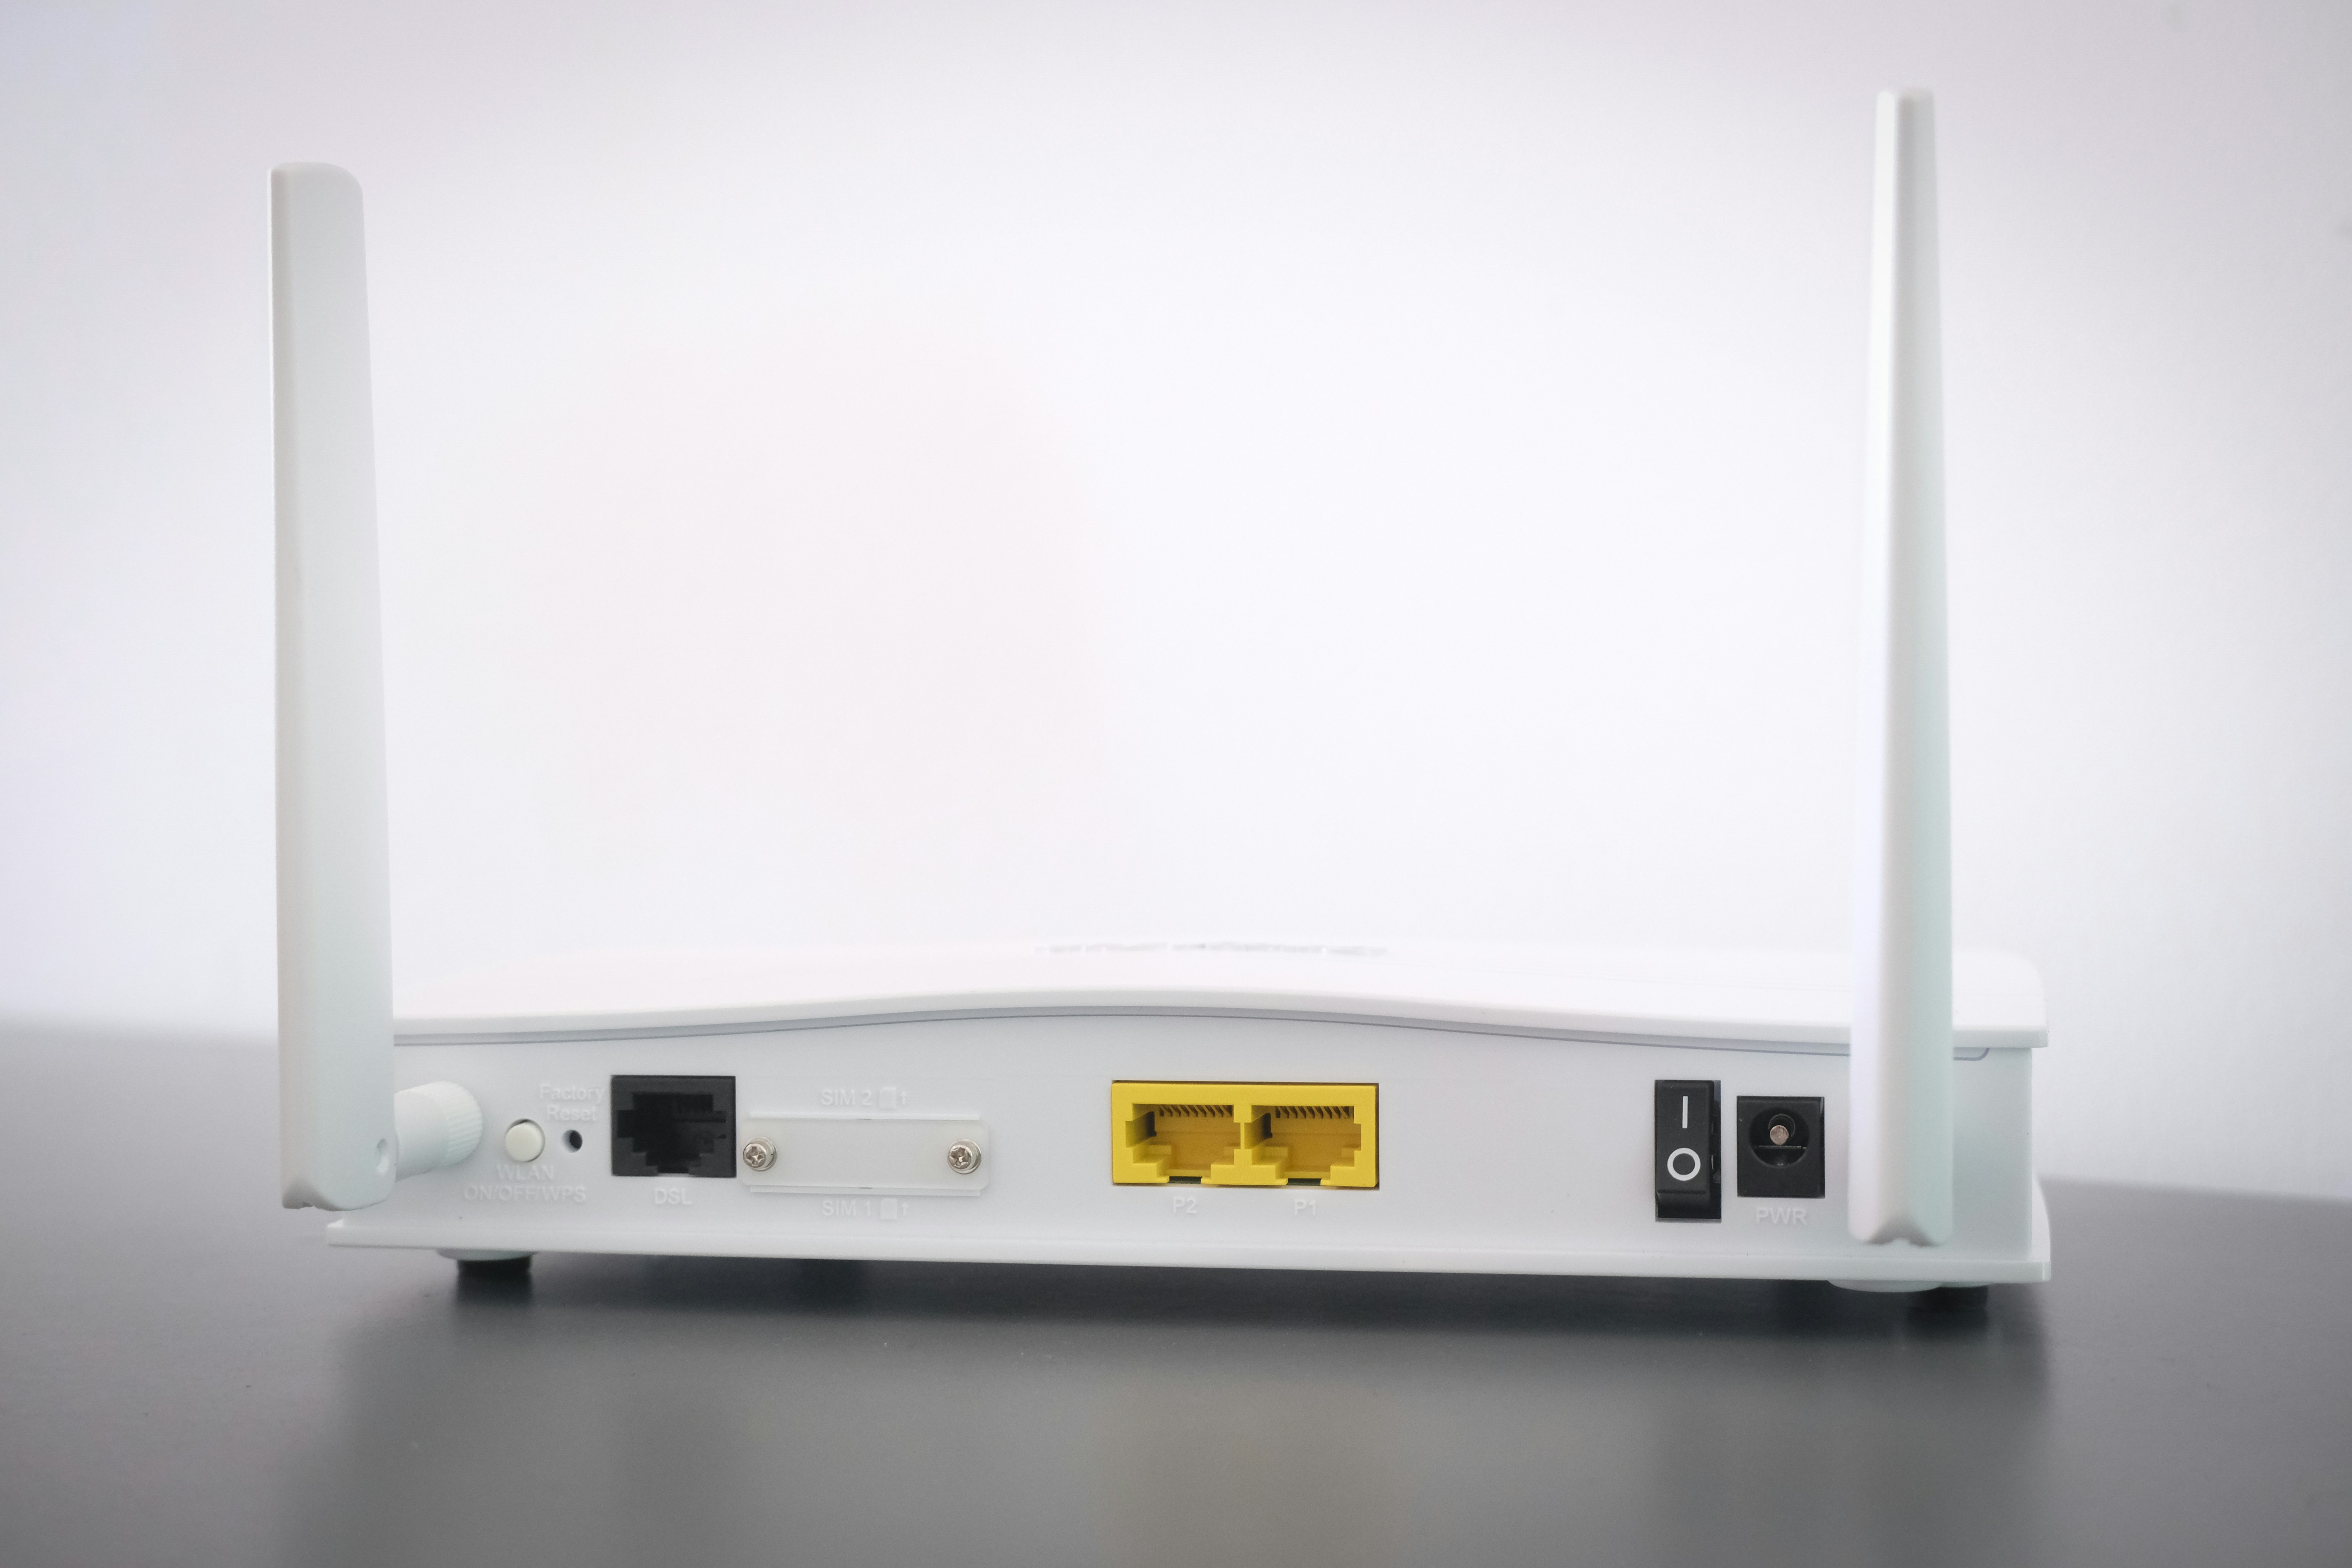
Once you have selected a suitable location, the next step is connecting your router to the modem using an Ethernet cable. Start by locating the port labeled “Internet” or “WAN” on your router. It is typically a different color from the other ports. Plug one end of the Ethernet cable into this port and the other end into the modem’s corresponding port. If your modem and router are separate devices, ensure that the modem is turned on and functioning properly before proceeding with the next step.
Next, power on your router by connecting it to an electrical outlet using the included power adapter. Most routers will have a power button that needs to be pressed to activate the device. After turning on the router, observe the LED lights that illuminate on the front panel. These lights are indicators of the router’s status; typically, a solid green light indicates that the router is on and successfully connected to the internet, while any red lights may indicate an issue that needs to be addressed.
In doing so, your router should be fully operational, setting the stage for configuring your network settings. Proper installation of the router not only optimizes signal quality but also lays the groundwork for a seamless Wi-Fi experience in your home.
Configuring Your Network Settings
Setting up a home Wi-Fi network requires precise configuration of your network settings. The first step is to access your router’s configuration page via a web browser. This typically involves entering the router’s IP address, which is often located on the device itself or in the user manual. For many routers, the IP address is 192.168.1.1 or 192.168.0.1. Enter this IP address in the address bar to access the configuration interface.
Once you are on the router’s page, you will need to log in using the administrator credentials. These credentials are commonly set to defaults, such as “admin” for both the username and password. Ensure you change these defaults to safeguard your network against unauthorized access.
After logging in, one of the first settings you will want to modify is the network name, known as the SSID (Service Set Identifier). Changing this to a unique name can help you identify your network easily among others in the area. Avoid using personal information in your SSID for security reasons.
Furthermore, a strong password is essential for your Wi-Fi protection. Aim for a password that is at least 12 characters long, combining letters, numbers, and symbols. This complexity helps to prevent unauthorized access to your network, safeguarding your personal data.
Additionally, check for any available firmware updates for your router. Manufacturers often release updates to improve security, performance, and features. Locate the firmware update section of the configuration page and follow the instructions provided.
Finally, take a few moments to explore other settings that may enhance your network’s security, such as enabling WPA3 encryption if supported by your router. This step is crucial in ensuring that your home Wi-Fi network is well-configured and secure for all connected devices.
Securing Your Wi-Fi Network
Establishing a secure home Wi-Fi network is essential for protecting personal data and connected devices from unauthorized access. One of the foremost steps involves selecting a robust security protocol. Currently, WPA3 is the most advanced standard available, offering enhanced encryption and security features compared to its predecessors. If WPA3 is not supported by your router or devices, utilize WPA2, which still provides a significant degree of protection. Ensuring that your network employs one of these protocols will greatly reduce the risk of intrusion.
Moreover, enabling encryption on your router is critical. This action ensures that data transmitted over the network is unreadable to outsiders. Within your router settings, you can typically find the encryption options under the wireless security section. It is advisable to consult the router’s manual or manufacturer’s website for specific instructions on enabling encryption.
Another fundamental aspect of security is changing the default administrator password. Routers often come with a preset password that is publicly known or easily accessible online. Replacing this with a unique, strong password prohibits easy access to the router’s settings and minimizes the risk of unauthorized changes to your network configuration.
In addition to the mentioned practices, consider hiding your network’s SSID. By not broadcasting your network name, potential intruders are less likely to detect it, adding an extra layer of security. Finally, activating a network firewall can provide further protection by monitoring incoming and outgoing traffic and blocking any suspicious activities. By implementing these measures, you can significantly enhance the security of your home Wi-Fi network, ensuring that your personal and sensitive information remains safe.
Leave a Reply