Category: Technology

  • How to Connect Multiple Devices to Wi-Fi: A Comprehensive Guide

    How to Connect Multiple Devices to Wi-Fi: A Comprehensive Guide

    Understanding Connection Limits

    As technology advances, our reliance on wireless networks has increased, raising questions about the capacity of Wi-Fi routers to support multiple devices. Typically, consumer-grade routers can support between 10 to 30 connected devices. However, two significant factors come into play: the specifications of the router itself and the types of devices being connected.

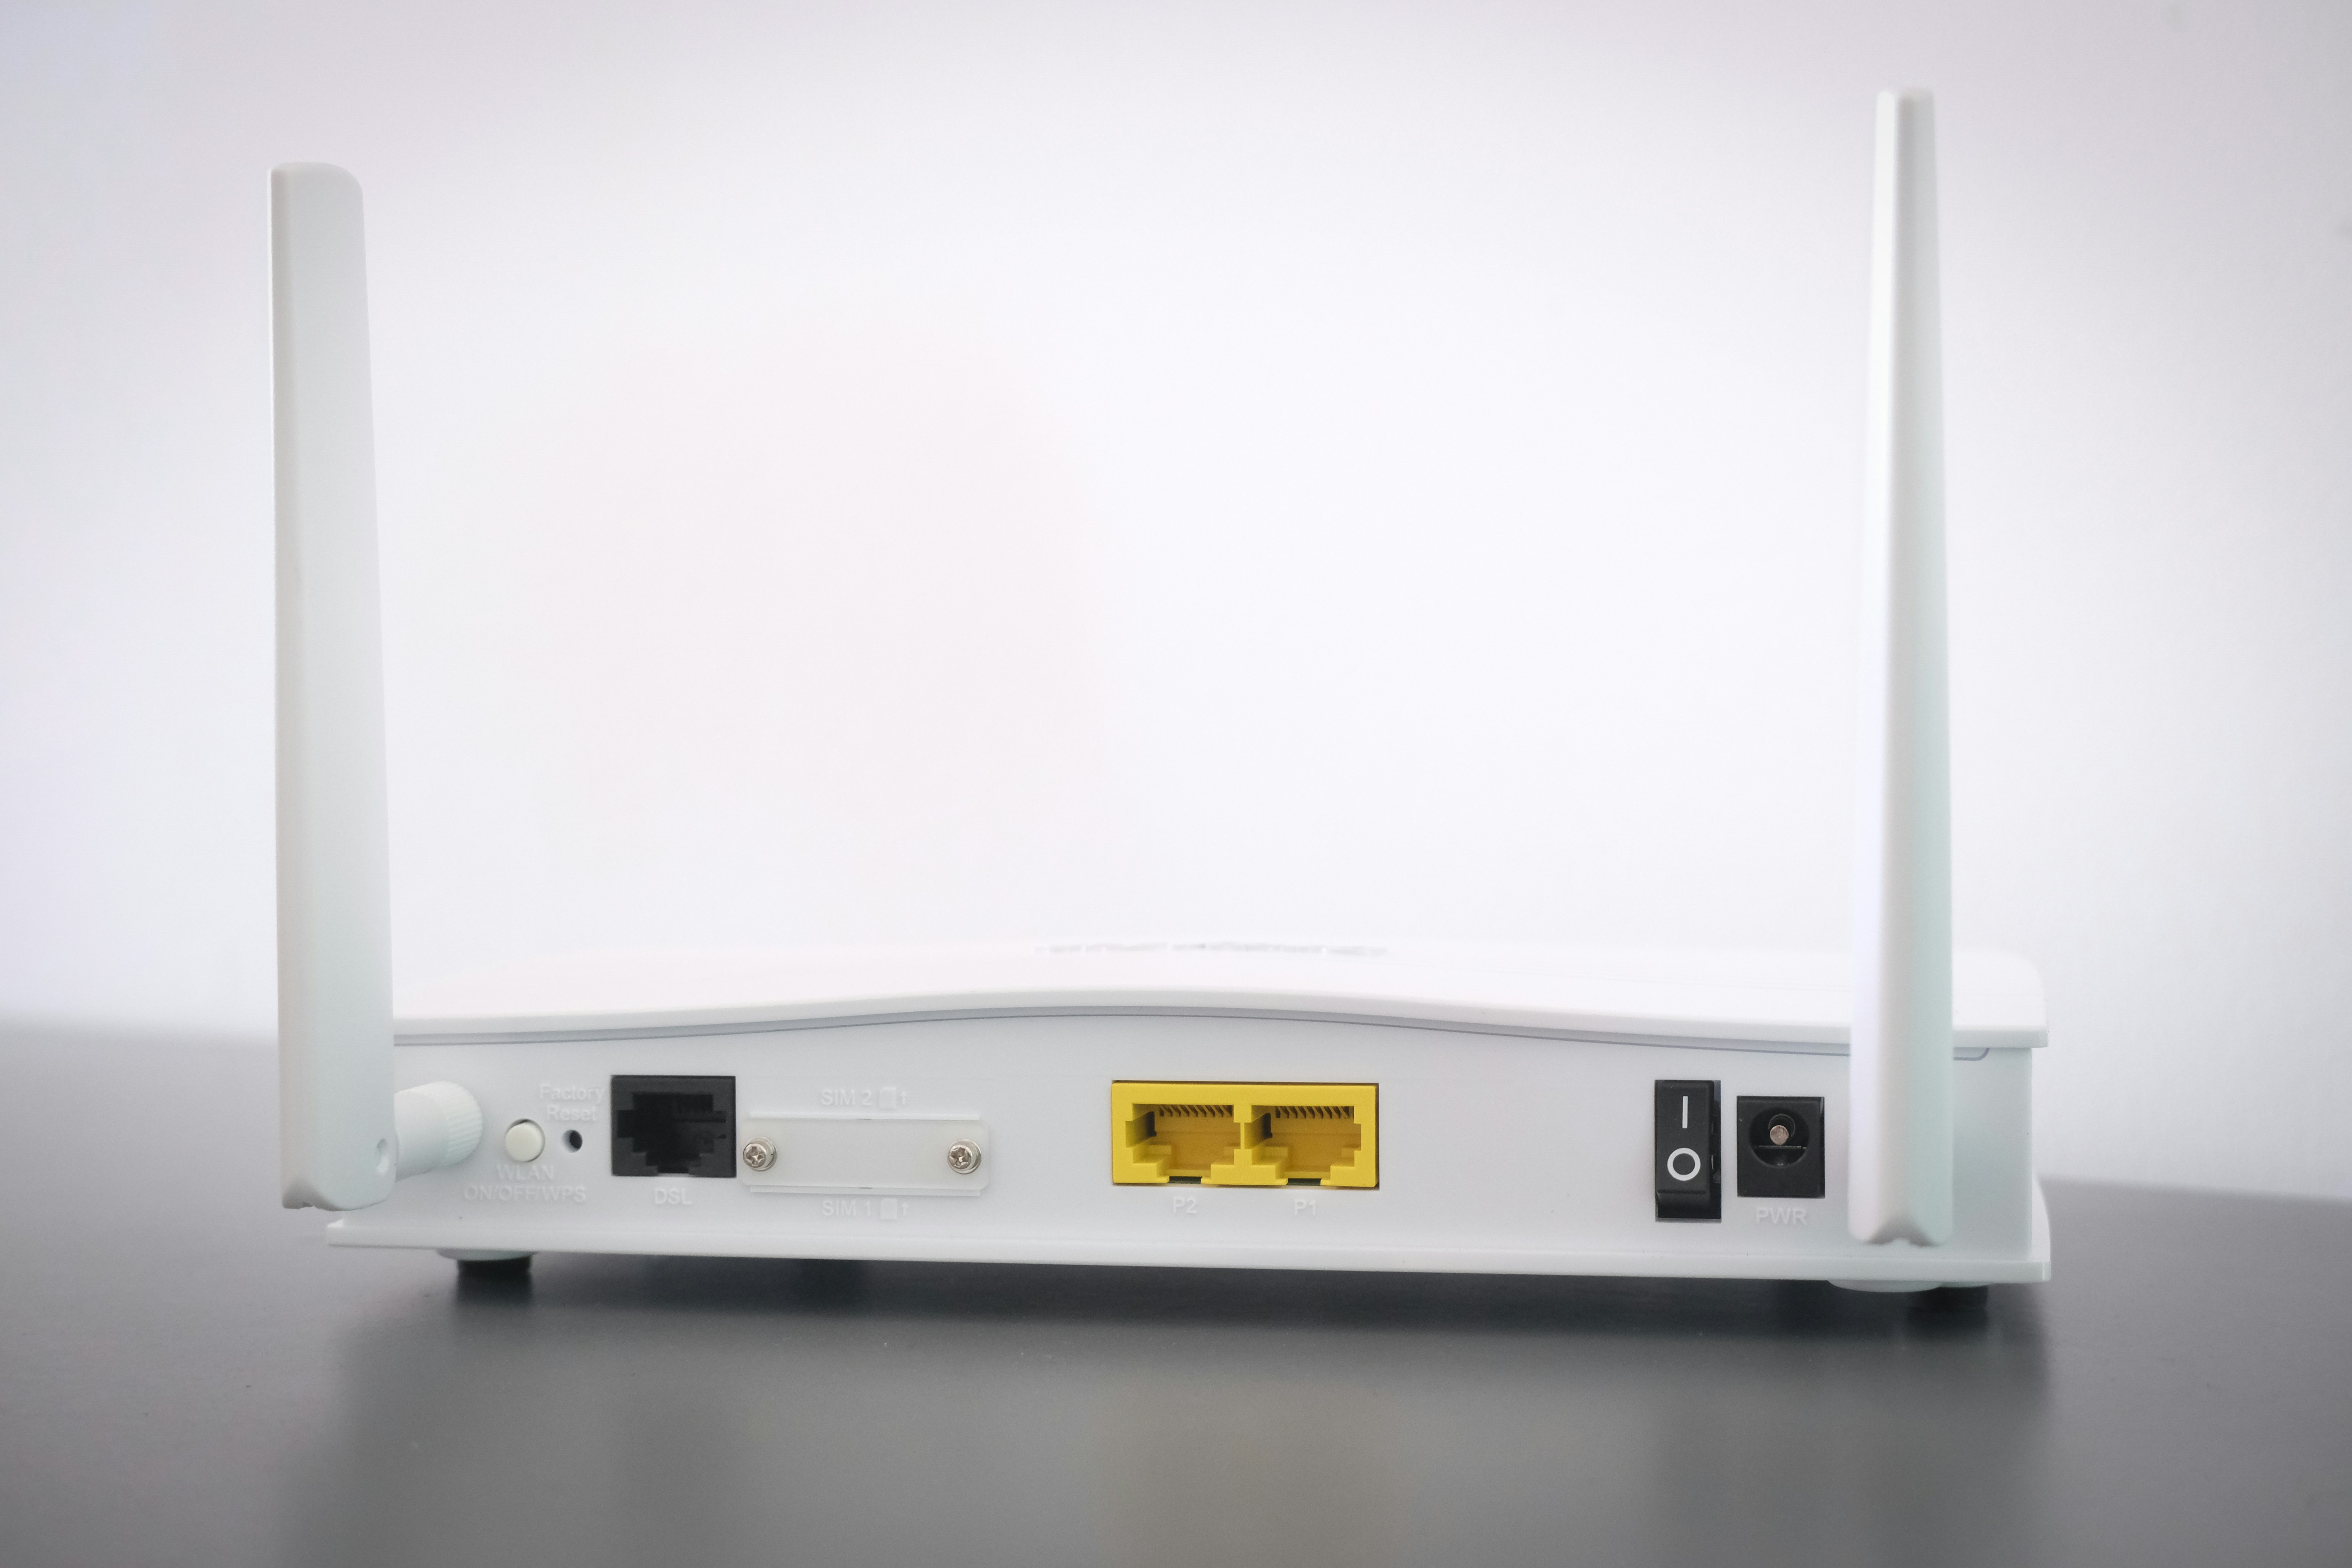
    One of the primary differences in Wi-Fi technology is the distinction between the 2.4GHz and 5GHz frequency bands. The 2.4GHz band has a longer range and can penetrate walls better, but it is more susceptible to congestion as many devices operate on this frequency, leading to interference. In contrast, the 5GHz band, although offering faster speeds and less interference, has a shorter range. This limitation can affect the number of devices that a router can efficiently support. Thus, if multiple devices are connected to the 2.4GHz band, performance may decrease significantly as the number of connected devices increases.

    Additionally, types of connected devices can greatly influence bandwidth usage. For instance, smart TVs or gaming consoles require a substantial amount of bandwidth compared to simpler devices like smart bulbs or temperature sensors. High-demand devices can hog bandwidth, potentially leading to slower connections for other devices on the same network. As such, understanding a router’s specifications, including its Maximum Number of Concurrent Connections, is crucial for optimizing performance and ensuring that all devices maintain a stable connection. Users should also consider their bandwidth needs when deciding how to allocate their Wi-Fi connections, as this affects overall network performance.

    Securely Sharing Wi-Fi Passwords

    Sharing Wi-Fi passwords is a common requirement in both personal and professional settings. However, it is essential to ensure that this process does not compromise network security. Numerous best practices can help facilitate safe sharing of credentials, thereby protecting your network from unauthorized access.

    One effective method for securely sharing Wi-Fi passwords is the use of QR codes. This technique allows users to generate a QR code linked to the network credentials. Recipients can access the internet simply by scanning the code with their smartphones. This not only simplifies the sharing process but also minimizes the risk of revealing the password to others who may be nearby.

    In addition to QR codes, periodically changing your Wi-Fi password is a crucial step in maintaining security. Regular updates deter potential intruders from gaining access to your network. When changing the password, ensure that you communicate the new credentials to all authorized devices, such as smart home systems and computers, to avoid internet disruption. Consider using a password manager; it can help securely store and manage complex passwords, making it easier to update credentials without compromising security.

    Moreover, be mindful of the people with whom you share your Wi-Fi password. Limit distribution to trusted individuals and, if necessary, consider creating a guest network for temporary visitors. A guest network provides separate access to the internet while keeping your primary network secure. This practice allows you to maintain control over who is connected and how much access they have.

    By implementing these strategies, users can effectively share their Wi-Fi credentials without putting their networks at risk, thereby securing their online environments while remaining connected with multiple devices.

    Preventing Speed Loss with Multiple Connections

    As more devices connect to a single Wi-Fi network, maintaining optimal speed can become a challenge. When managing multiple connections, it is essential to adopt strategies that minimize speed loss. One effective approach is to leverage Quality of Service (QoS) settings. QoS prioritizes network traffic, allowing you to allocate bandwidth to devices based on their needs. For example, if streaming video is consuming significant bandwidth, you can adjust settings to ensure that critical tasks, like video conferencing or online gaming, receive priority. By configuring QoS appropriately, you can enhance performance even with several devices connected simultaneously.

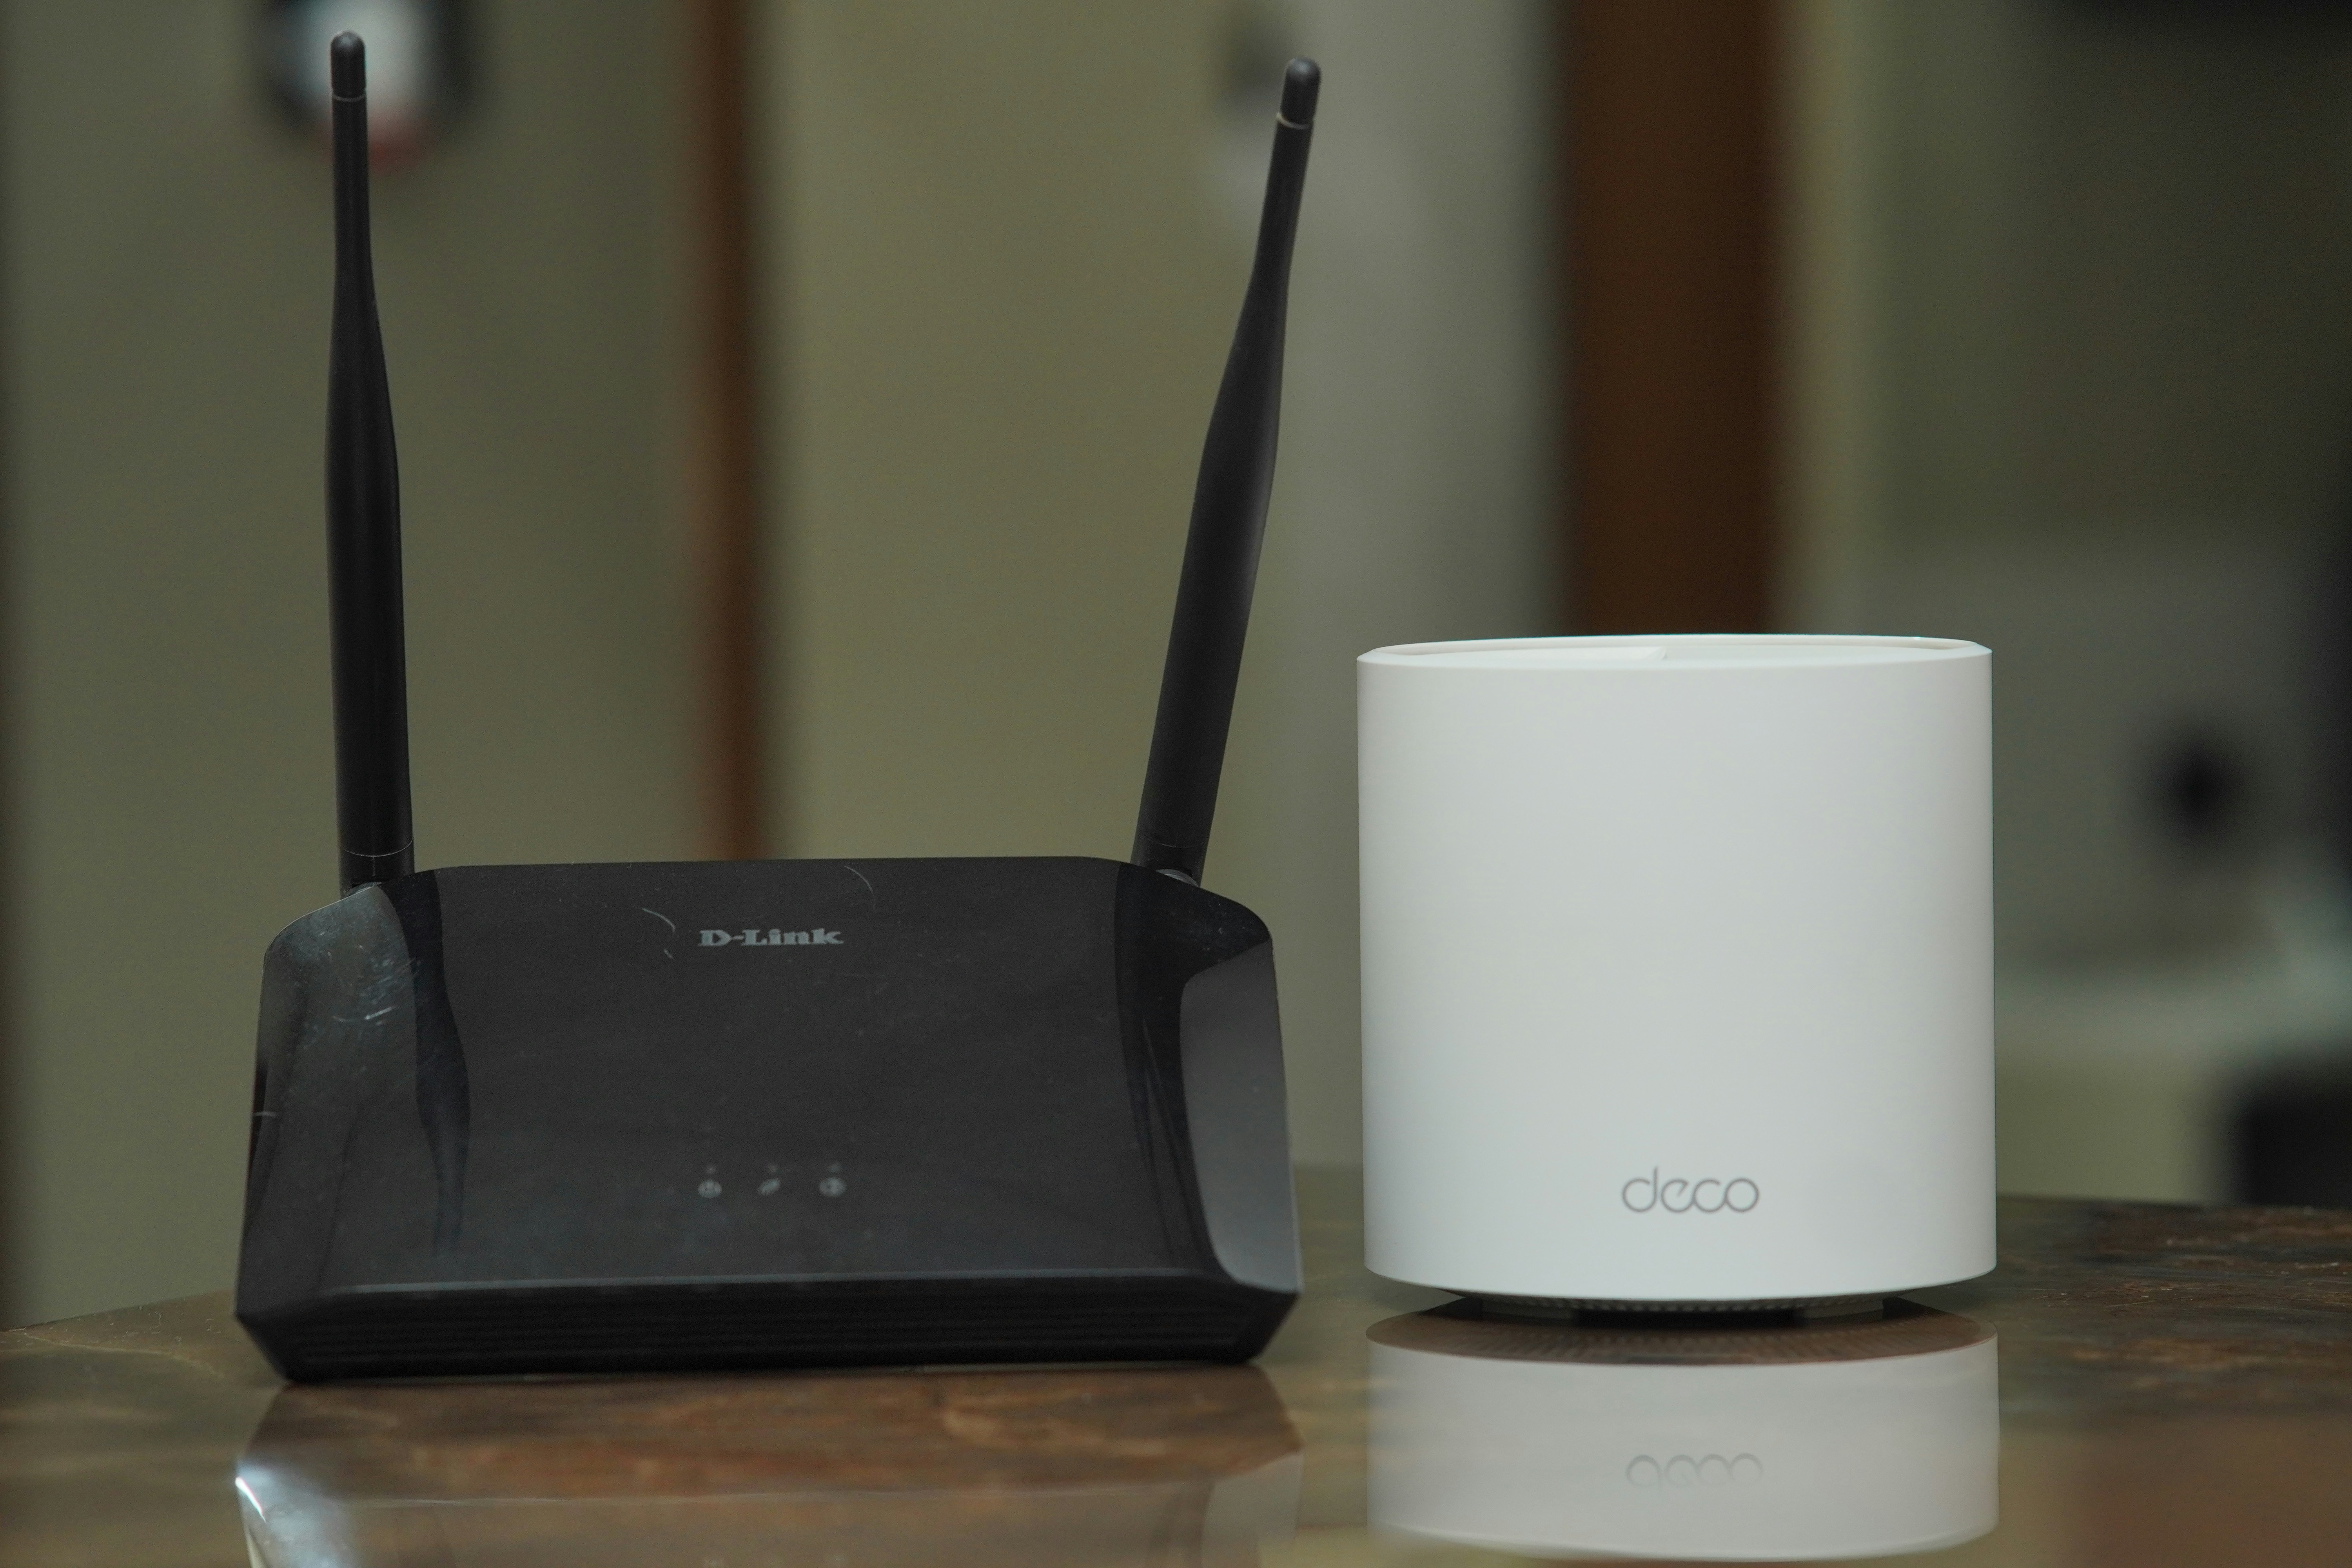
    Another key factor in preventing speed degradation is hardware optimization. Upgrading your router can have a considerable impact. Modern routers often come equipped with advanced features, including dual-band or tri-band capabilities, which can significantly improve performance. By using both the 2.4 GHz and 5 GHz bands, you can efficiently manage network congestion. The 2.4 GHz band offers broader coverage but lower speeds, while the 5 GHz band provides a faster connection over shorter distances. This dual-band approach allows multiple devices to connect without overburdening a single frequency.

    It is also crucial to manage device activity, particularly during peak times. Setting a schedule for high-bandwidth activities, such as large downloads or backups, can prevent slowdowns during busy hours. In households with multiple users, coordinating device usage can help ensure that one user’s activity does not inhibit another’s. By being mindful of peak usage times and employing strategies like QoS and hardware enhancements, you can maintain a stable and fast Wi-Fi connection across all devices.

    Troubleshooting Common Connection Issues

    When connecting multiple devices to Wi-Fi, users often encounter several common issues that can disrupt their connectivity experience. These problems may include dropped connections, slow internet speeds, and difficulty in recognizing devices on the network. Understanding the underlying causes of these issues and how to troubleshoot them can significantly enhance the quality of the Wi-Fi experience.

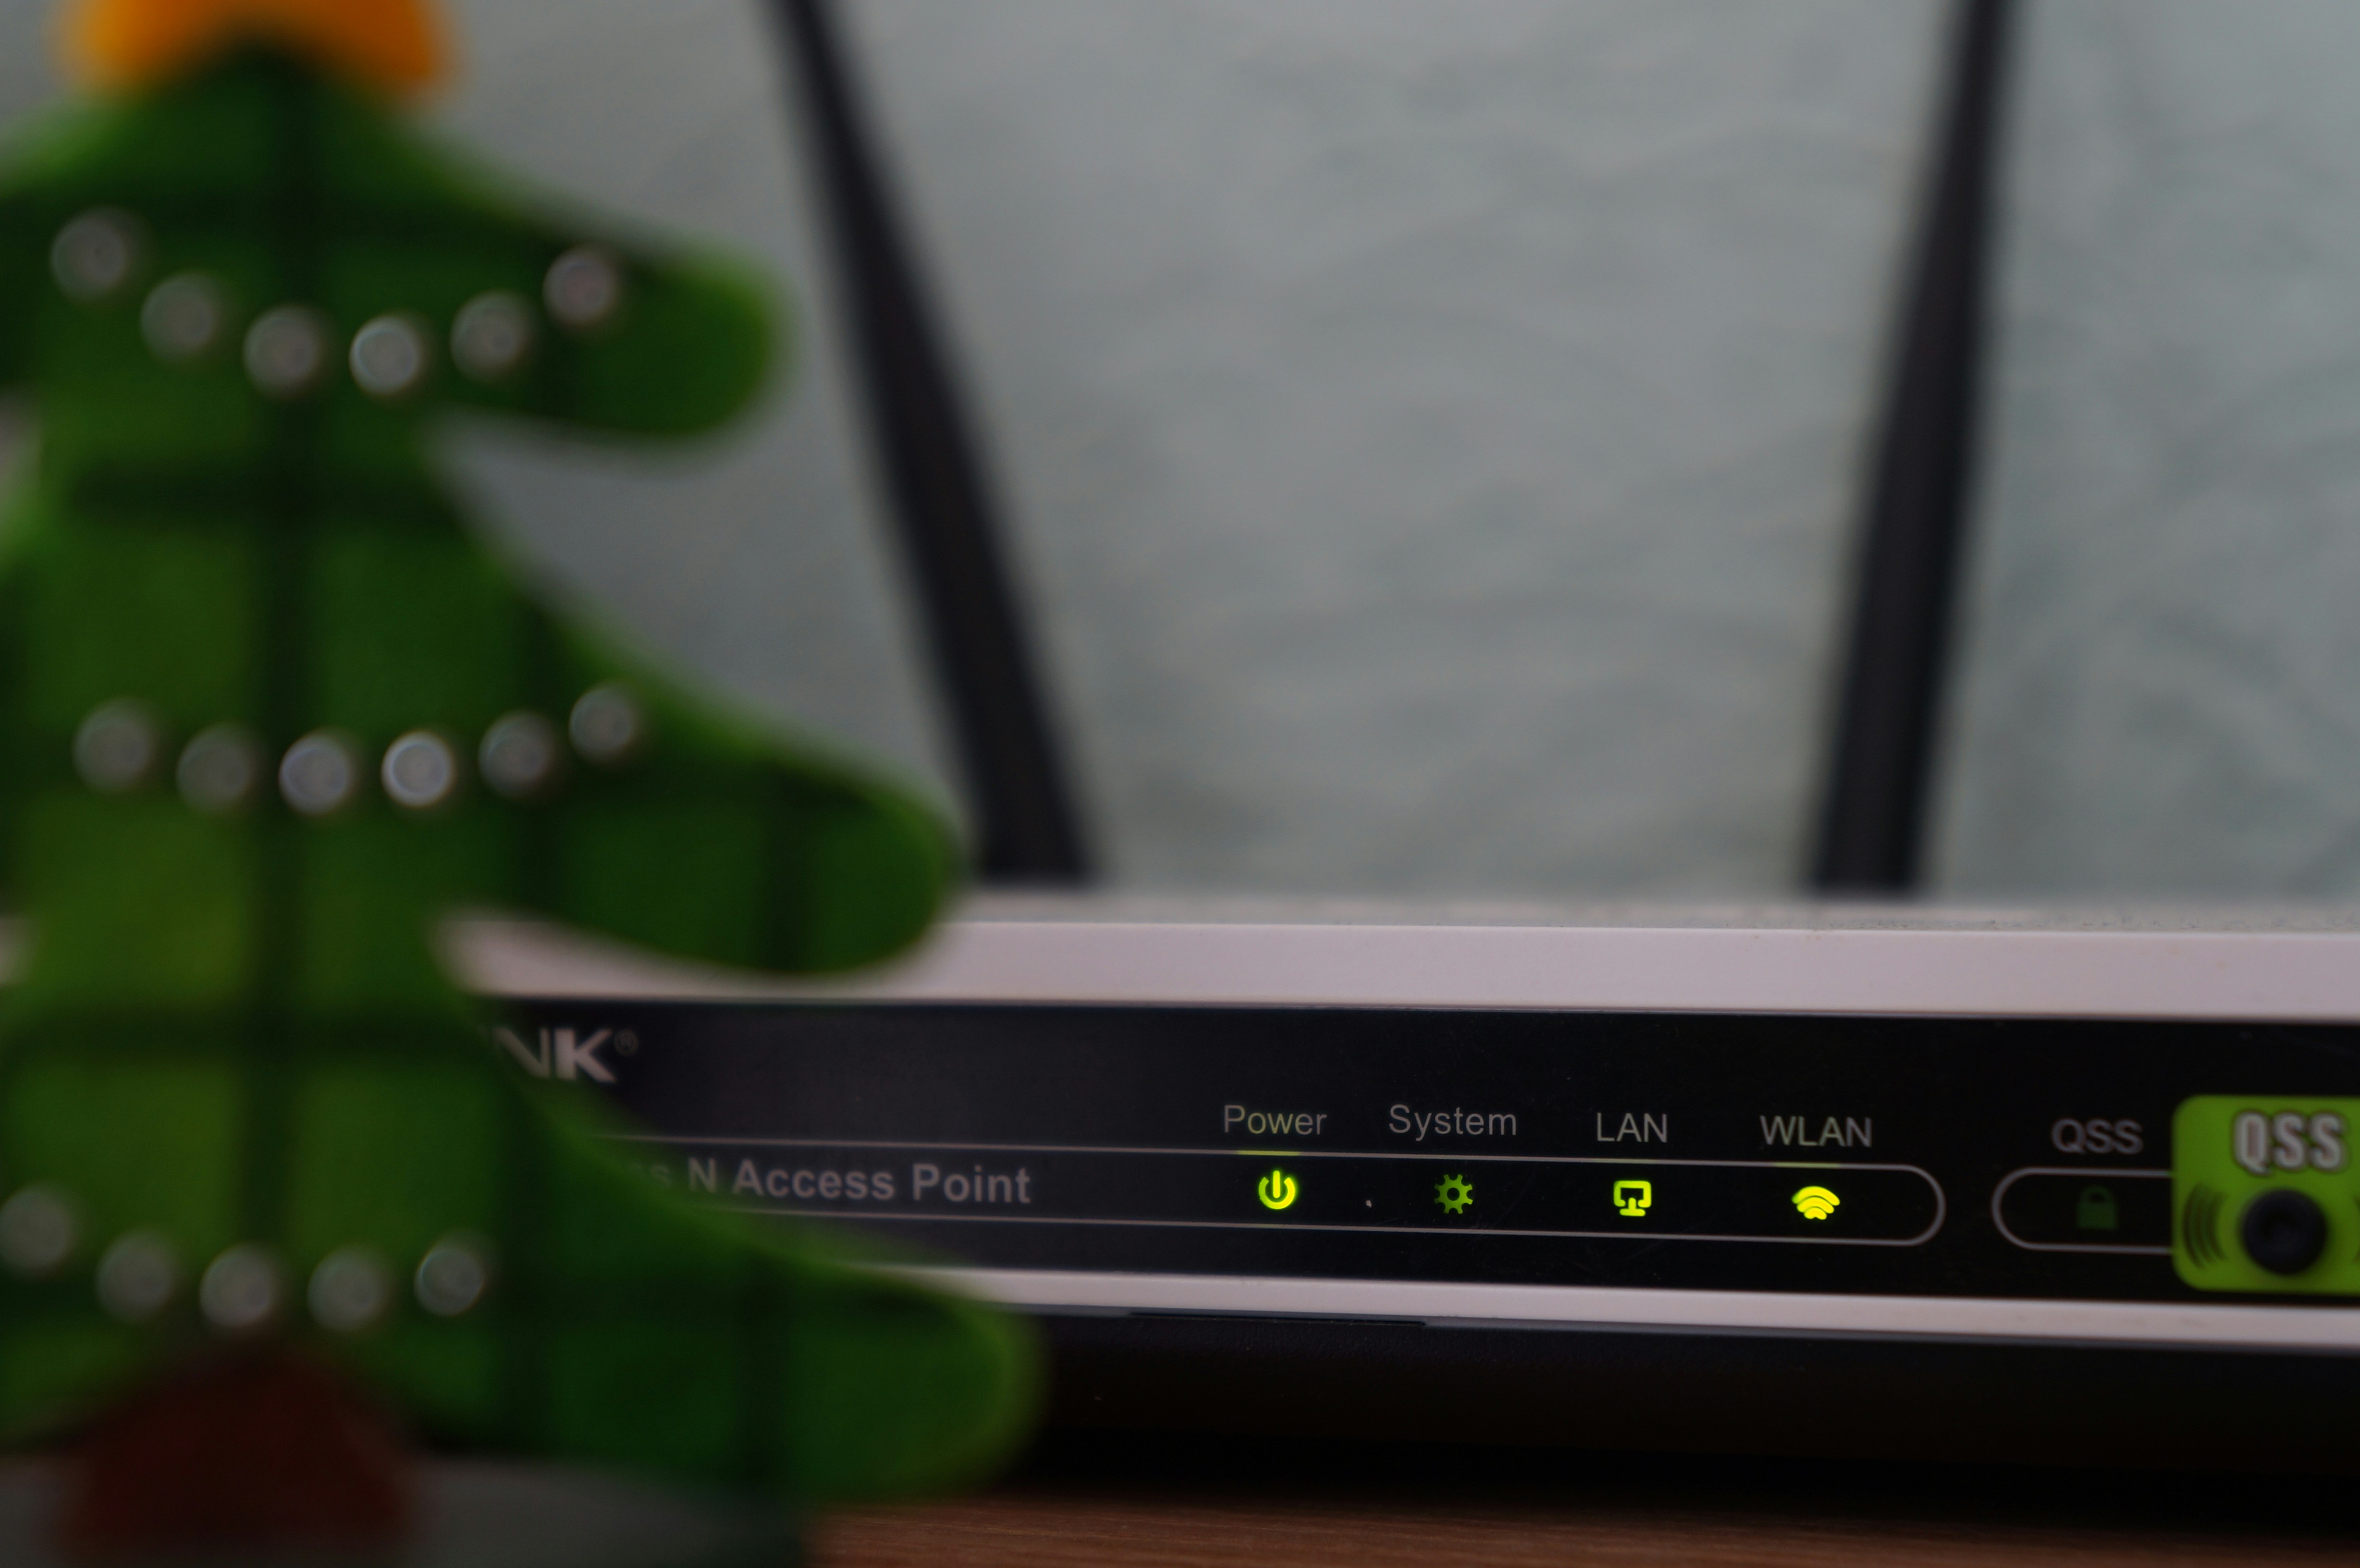
    One of the first steps in troubleshooting connectivity issues is to reset the router. A simple restart can often resolve minor issues by clearing temporary glitches and refreshing the device’s connection to the internet. To perform a reset, switch off the router, wait for about 30 seconds, and then power it back on. This process helps in reestablishing a stable connection for all devices.

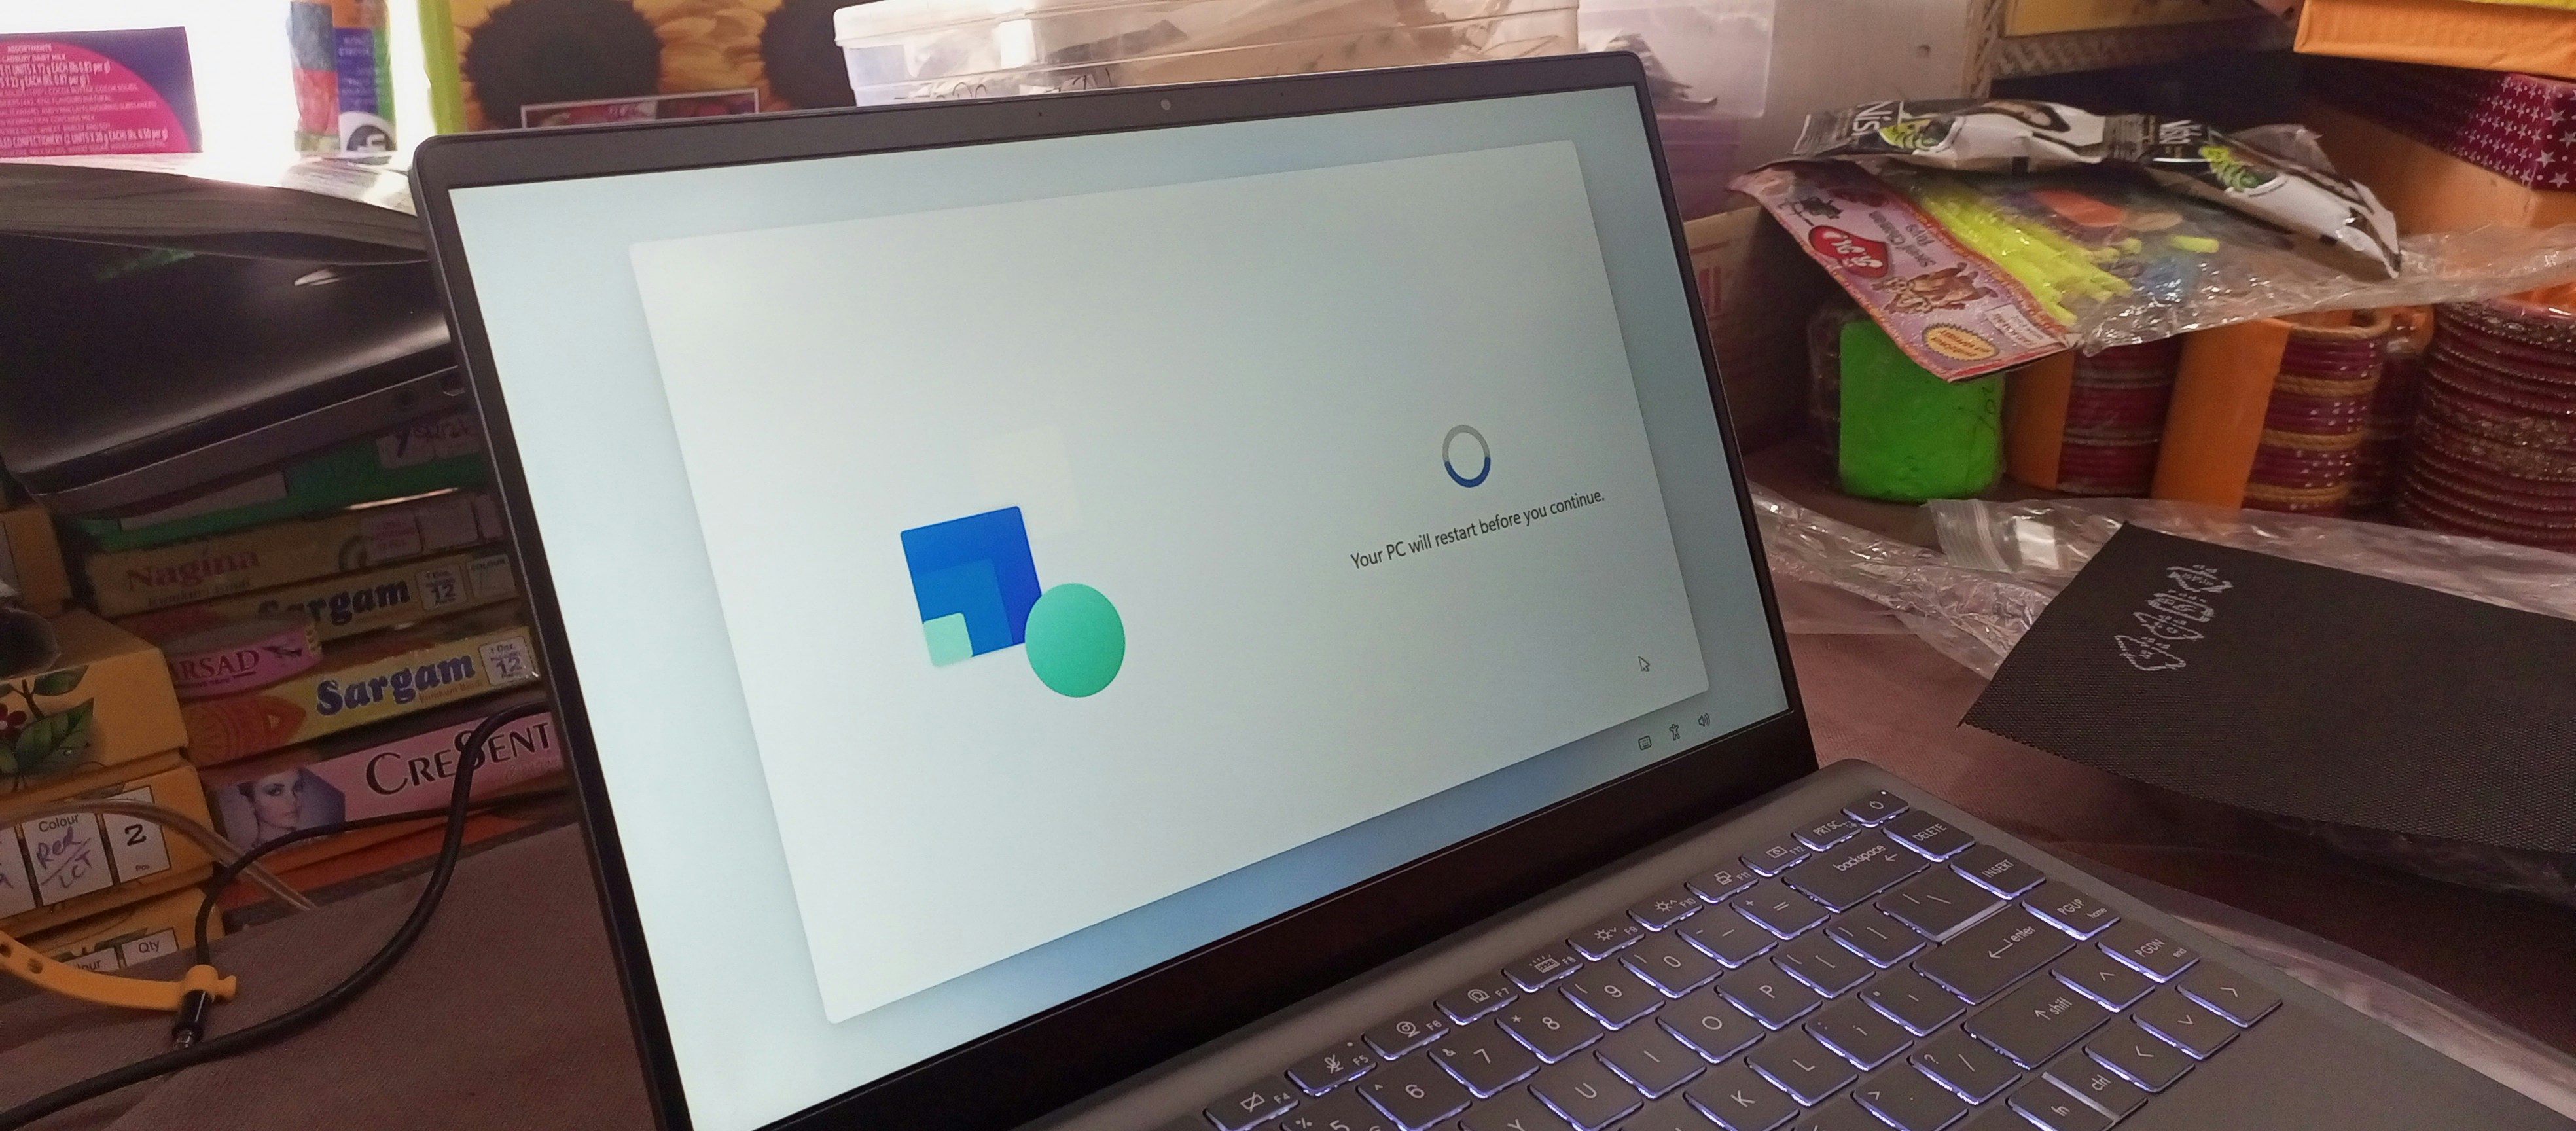
    Another essential step is to check for firmware updates on the router. Manufacturers periodically release firmware updates that improve performance, security, and compatibility with various devices. Access the router’s settings via a web browser, and look for any available updates to ensure the router is functioning optimally.

    Additionally, optimizing network settings can greatly enhance performance, particularly when multiple devices are connected. It may be beneficial to change the Wi-Fi channel to reduce interference from neighboring networks. If the router supports dual-band functionality, consider connecting devices to the 5 GHz band, which typically offers higher speeds and less congestion compared to the 2.4 GHz band. Furthermore, ensure that the router’s Quality of Service (QoS) settings are appropriately configured to prioritize bandwidth for essential applications.

    Lastly, regularly checking the physical connections and verifying that no obstructions block the router can also prevent slow speeds and dropped connections. By systematically addressing these common issues, users can improve their overall Wi-Fi experience.

  • How to Fix Your Internet That Keeps Dropping

    How to Fix Your Internet That Keeps Dropping

    Understanding the Causes of Internet Disconnections

    Frequent internet disconnections can be frustrating and hinder productivity. There are several potential causes for these issues, which can be broadly categorized into signal interference, router settings, and environmental factors. Addressing these elements may aid in diagnosing and remedying the situation effectively.

    One primary cause of connectivity issues is signal interference. Physical obstructions such as walls, furniture, and appliances can hinder the wireless signal from your router. Additionally, electronic devices that operate on similar frequencies, such as microwaves or cordless phones, may cause disruptions. These interferences can weaken the internet signal, leading to intermittent disconnections.

    Another factor to consider is the possibility of improper settings on your router. Often, routers come with default configurations that may not be suitable for every user’s needs. For instance, the channel settings may not be optimized, which could lead to overcrowded frequency bands, affecting the stability of your internet connection. An outdated firmware can also contribute to erratic behavior of your network, so it is wise to check for updates regularly.

    Furthermore, environmental factors such as the distance between your router and connected devices can significantly impact performance. The farther away a device is from the router, the weaker the signal will become. If you have multiple devices connected to the same network, bandwidth can become a limiting factor, especially if several are streaming or downloading large files simultaneously.

    In conclusion, understanding the various reasons for frequent disconnections is critical in diagnosing and resolving internet connectivity issues. By considering signal interference, router settings, and environmental factors, you can take steps to stabilize your connection and enjoy a more reliable internet experience.

    Identifying Signal Interference and Overheating Issues

    One of the primary reasons for frequent internet disconnection is signal interference, which can significantly degrade the quality of your Wi-Fi connection. To identify and address this issue, start by assessing the placement of your router. Ideally, the router should be positioned in a centralized location within your home, away from walls and obstructions. Additionally, consider elevating the router to improve its coverage area. Furniture, appliances, and even human bodies can disrupt the Wi-Fi signal; therefore, minimizing these obstacles is crucial for optimal performance.

    Next, evaluate the devices operating around your network. Various household items, particularly microwaves, cordless phones, and Bluetooth devices, can cause interference with Wi-Fi signals. To determine if a specific device is conflicting with your connection, turn off suspicious electronics one by one and observe any changes in your internet stability. This process can help pinpoint the source of interference, allowing you to arrange your living space or invest in alternate technology solutions.

    Another potential issue could be overheating of your router. Symptoms of an overheated router include unusually warm surfaces, disconnection issues, or intermittent performance glitches. To check for overheating, ensure the router has adequate ventilation; avoid placing it in enclosed spaces or on soft surfaces that trap heat. If overheating is a recurring issue, consider relocating your router or investing in a cooling pad designed for electronic devices. Maintaining a stable temperature can enhance your router’s performance and longevity, helping to mitigate connectivity issues.

    Inspecting Your Internet Line and Equipment

    To effectively troubleshoot internet connectivity issues, the first step is to inspect your internet line and associated equipment. Start by checking the cabling that connects your modem and router to the wall outlet. Look for any visible signs of damage such as fraying or cuts in the cables. It is also important to ensure that the cables are securely plugged into both the wall socket and the devices. Loose connections can often lead to intermittent connectivity or a complete drop in service.

    Next, assess the condition of your modem and router. Power cycle both devices by unplugging them for about 30 seconds and then plugging them back in. This simple reset can often resolve minor glitches that might cause connectivity issues. Additionally, check for any updates for your modem and router’s firmware. Manufacturers frequently release updates that enhance device performance and stability; thus, keeping your equipment updated is crucial for maintaining a reliable internet connection.

    Environmental factors may also play a role in disrupting your internet service. Check if there are any large obstructions, such as furniture or appliances, that might interfere with the wireless signal from your router. Electronic devices like microwaves and cordless phones can also cause interference. If you are using Wi-Fi, consider moving your router to a more central location within your home to improve signal distribution.

    In summary, inspecting the internet line, cables, and equipment can reveal issues that may be causing your internet to drop frequently. By ensuring everything is secure and functional, along with testing the signal environment, you can identify potential solutions to enhance your internet connectivity.

    Testing Devices Separately to Isolate the Problem

    To diagnose the reason behind intermittent internet connectivity effectively, it is vital to isolate each device connected to your network. Begin by disconnecting all devices that use your internet service, such as smartphones, tablets, laptops, and smart home gadgets. This step ensures that you can accurately determine whether a specific device is causing connectivity issues or if the problem resides within the broader network.

    Once the devices are disconnected, reconnect them one at a time while monitoring the connectivity. This method allows you to identify any particular device that causes the internet connection to drop. Additionally, each device should have its network settings updated to the latest versions. An outdated driver or firmware can significantly affect performance and stability, leading to frequent disconnections.

    In addition to updating settings, running diagnostics on each device is an effective way to ensure everything is functioning as intended. Most operating systems offer built-in troubleshooting tools that can detect and address common connectivity problems. For example, Windows devices have a network troubleshooter that can provide insights and potential fixes. Similarly, many smartphones come equipped with features to diagnose Wi-Fi connection issues, which can be quite valuable.

    While testing, consider checking the signal strength and connection speed for each device using relevant applications or built-in settings. A device might appear connected but could actually be suffering from weak signal penetration, resulting in poor performance. If you identify a device that consistently causes issues, you may need to adjust its settings, such as moving closer to the router or changing its wireless band. By isolating each device and meticulously testing their connectivity, you will better determine the root cause of persistent internet dropouts.

  • Essential Tips to Improve Wi-Fi Signal in Your Home

    Essential Tips to Improve Wi-Fi Signal in Your Home

    Understanding Wi-Fi Signals and Their Importance

    Wi-Fi signals are a crucial aspect of modern connectivity, facilitating seamless access to the internet without the constraints of physical cables. At their core, these signals are radio waves transmitted by a device known as a router, which communicates with Wi-Fi-enabled devices such as smartphones, tablets, and laptops. The strength and quality of these signals significantly impact the overall internet experience, making them central to daily tasks and activities.

    A strong Wi-Fi signal is essential for various activities prevalent in contemporary life, including streaming video content, online gaming, and engaging in remote work. For instance, high-definition video streaming requires substantial data transfer, which can be severely hampered by weak signals. Consequently, interruptions such as buffering or decreased image quality may arise, undermining the viewing experience. Similarly, in gaming, a stable and strong signal is necessary to prevent lag and ensure real-time interactions, which are vital for competitive play.

    Moreover, remote work has become increasingly common, amplifying the need for dependable internet access. Many individuals rely on video conferencing tools, collaborative platforms, and cloud services that depend on stable Wi-Fi connectivity. Inconsistent signals may lead to dropped calls and delays, ultimately affecting productivity and communication.

    Several factors can impact Wi-Fi performance, including physical obstructions such as walls, interference from other electronic devices, and the distance from the router. Understanding these elements is fundamental to optimizing home Wi-Fi networks. By acknowledging the variables at play, homeowners can take proactive measures to enhance the strength of their Wi-Fi signals, thereby improving their overall online experience.

    Optimal Router Placement for Enhanced Signal Strength

    To maximize Wi-Fi coverage throughout your home, optimal router placement is crucial. The location of your router can significantly influence the signal strength and, consequently, the internet experience in every room. A common oversight is placing the router in a corner or along a wall. Ideally, routers should be positioned centrally in your home. This central placement helps distribute the signal evenly to all areas, minimizing dead spots.

    Height also plays a vital role in the effectiveness of your Wi-Fi signal. Elevating the router can improve signal reach, so consider placing it on a high shelf or mounting it on a wall. This elevation allows the signal to propagate more freely through your living space, mitigating interference caused by furniture or other objects. Additionally, distance from walls can impact performance; routers placed too close to walls may experience reduced output. A good rule of thumb is to keep the router away from any obstructions, allowing for a better line of sight to connected devices.

    Another aspect to consider is the floor plan of your home. Multi-story homes may benefit from strategically placing additional access points or routers on different floors to ensure coverage in previously difficult areas. Additionally, minimize the impact of electronic devices that may cause interference, such as microwaves or cordless phones. Understanding these factors and implementing superior router placement can significantly enhance your Wi-Fi signal strength, ensuring a smoother internet experience for all users in your home.

    Identifying and Mitigating Interference from Walls and Appliances

    Wi-Fi signals can effectively be stunted by various physical barriers present in a typical household. Understanding how walls and household appliances interfere with Wi-Fi signals is essential for optimizing connectivity. Different materials exhibit unique effects on signal absorption and reflection, significantly influencing the strength of your network.

    Concrete and brick walls are notorious for obstructing Wi-Fi signals due to their density, which can absorb and weaken radio waves. On the other hand, metal objects, such as large appliances, can cause reflection, leading to disrupted signal paths. Wood, while less obstructive than concrete or metal, can still attenuate signals depending on its thickness and density. This interplay of materials highlights the importance of strategic placement of both routers and connected devices within the home.

    To mitigate these interferences, several practical solutions can be implemented. First, consider repositioning your Wi-Fi router to a central location within your home, ideally elevated to minimize the number of walls the signal must traverse. This adjustment can often enhance coverage and reduce the barriers encountered by the signal.

    In addition to repositioning, utilizing Wi-Fi extenders can enhance coverage in areas that are particularly affected by interference. These devices act as a relay, boosting the signal further into areas with weak connectivity. Alternatively, if possible, consider employing physical barriers that can redirect or absorb the signals more effectively. For instance, placing your router away from large metal appliances or using acoustic panels can significantly improve signal quality.

    Ultimately, awareness of how walls and appliances impact Wi-Fi performance allows homeowners to take informed steps to bolster their wireless networks. By employing strategic positioning, using extenders, and incorporating thoughtful changes in the home environment, one can minimize the disruptive effects of various materials and enhance the overall Wi-Fi experience.

    Utilizing Wi-Fi Extenders and Mesh Systems

    To enhance Wi-Fi coverage in your home, utilizing Wi-Fi extenders and mesh network systems can prove to be effective solutions. Wi-Fi extenders function by capturing and amplifying the existing Wi-Fi signal, thereby extending its reach into areas where connectivity may be weak. They are particularly useful in larger homes or spaces with physical barriers such as walls that can interfere with signal strength. The installation of a Wi-Fi extender typically requires a simple setup process, involving plugging the device into a power outlet and following a few on-screen instructions for configuration.

    On the other hand, mesh network systems consist of multiple devices, called nodes, which work in tandem to create a unified Wi-Fi network throughout your home. Unlike extenders that boost an existing signal, mesh systems provide seamless connectivity by communicating with one another. This allows for consistent internet speed and coverage in larger spaces, alleviating the frustration of dead zones. Setting up a mesh network may require a little more effort, as it often involves strategically placing the nodes around your home.

    When deciding between a Wi-Fi extender and a mesh system, consider the size of your home, the number of devices connected to your network, and your specific usage needs. For users in smaller homes or apartments, a Wi-Fi extender might suffice for improving the signal in certain areas. In contrast, those living in larger residences, or who require high bandwidth for activities like gaming or streaming, may find a mesh network system to be a more appropriate solution. Both options present valuable ways to enhance your home Wi-Fi signal, ensuring reliable connectivity throughout your living space.

  • How to Fix Wi-Fi Not Working on Your Laptop: A Comprehensive Guide

    How to Fix Wi-Fi Not Working on Your Laptop: A Comprehensive Guide

    Check Airplane Mode

    Airplane mode is a feature available on most laptops that is designed to deactivate all wireless communications, including Wi-Fi. If this mode is unknowingly enabled, it can lead to significant challenges in establishing an internet connection. Thus, it is essential for users to verify whether their laptop’s Airplane mode is turned on or off when experiencing Wi-Fi connectivity issues.

    To check and toggle Airplane mode, start by accessing the settings on your laptop. On Windows systems, you can accomplish this by clicking on the network icon located in the system tray at the bottom right corner of your screen. Next, look for the airplane icon; if it is highlighted or turned on, then Airplane mode is activated, which means Wi-Fi is currently disabled.

    Many laptops also come equipped with a specific keyboard shortcut that can quickly enable or disable Airplane mode. This is typically represented by a toggle key, often located on the function keys at the top of the keyboard. Look for a key with an airplane symbol; pressing this key, usually while holding the “Fn” key, will allow you to switch the mode. If your laptop is equipped with such a feature, it provides a fast and efficient way to check your connectivity status.

    Moreover, if you further explore the system settings, you will find additional options within the network settings that address Wi-Fi connections. On Windows, navigate to Settings > Network & Internet > Airplane mode to find the relevant options. Similarly, on Mac devices, you can check this under System Preferences > Network. By ensuring that Airplane mode is turned off, you will be able to restore your Wi-Fi connection and resolve any issues that may have arisen.

    Reset Network Adapter

    Resetting the network adapter can often resolve connectivity issues that may be causing your Wi-Fi to malfunction on your laptop. A network adapter acts as the bridge between your laptop and your wireless network. If it’s malfunctioning or improperly configured, you may experience problems connecting to Wi-Fi or maintaining a stable internet connection.

    To reset your network adapter, begin by accessing the Network Settings on your laptop. On Windows, you can do this by clicking on the Start menu, typing “Settings” in the search bar, and selecting the “Network & Internet” option. In the Network & Internet settings, navigate to the “Status” tab and scroll down to find the “Network reset” option. This feature allows you to reset the network settings of your device, effectively refreshing the network adapter.

    Click on “Network reset”, and you will see a warning about what this action will do. It will remove and/or reinstall all your network adapters and set other networking components back to their original settings. If you are ready to proceed, click the “Reset now” button. This process may take a few minutes to complete, and your laptop will restart automatically. After rebooting, your network adapter should be reset to its factory settings, which can eliminate conflicts and restore functionality.

    It is important to note that resetting your network adapter can be beneficial if you are facing issues such as frequent disconnections or an inability to detect available Wi-Fi networks. By resetting the network adapter, various misconfigurations are resolved, potentially enhancing your laptop’s ability to connect to Wi-Fi networks. If you continue to experience connectivity issues, consider further troubleshooting steps or consulting with technical support.

    Restart the Router

    One of the simplest yet most effective solutions for addressing Wi-Fi connectivity issues on your laptop is to restart the router. This process can help clear temporary glitches that may impede your network connection. Regardless of the router model you own, the general principles for rebooting are largely the same, although specific steps may vary slightly. Here, we detail a methodical approach to restart your router safely and efficiently.

    Firstly, locate the power source for your router. This will typically involve following the power cord from the router to the wall outlet. Unplugging the power cable is the first step; this should be done gently to avoid damaging the router’s connection ports. Once disconnected, wait for about 30 seconds. This interval is essential, as it allows for any residual power in the hardware to dissipate and reduces the likelihood of any errors when powering the device back on.

    After the wait, plug the power cord back into the router and wait for it to reboot completely. This could take a few minutes, during which the router will re-establish its connection with the internet service provider. Observing the indicator lights on the router can be helpful; typically, you will see them flicker as the device starts up and stabilizes. Wait until all relevant lights indicate a stable connection, which usually means the power and internet lights are solid.

    For routers equipped with a reset button, if a simple restart does not improve connectivity, you may consider resetting the router to factory settings. This action, however, should be a last resort, as it would erase all personalized settings. By following this straightforward procedure to restart your router, you can potentially resolve many Wi-Fi connectivity problems that hinder your laptop’s performance.

    Update Drivers

    Updating the drivers for your laptop’s wireless network adapter can be a critical step in resolving Wi-Fi issues. Drivers serve as the bridge between your operating system and hardware components, such as the wireless adapter. An outdated or corrupted driver can lead to unstable connections or the inability to connect to Wi-Fi networks entirely. Therefore, ensuring that your drivers are current is essential for maintaining robust Wi-Fi connectivity on your laptop.

    To check for driver updates through Device Manager, first, right-click on the Start menu and select “Device Manager” from the list. Once opened, you will see a list of hardware components categorized by type. Expand the section labeled “Network adapters” to view all installed network devices. Locate your wireless network adapter in the list; it often includes terms like “Wireless” or “Wi-Fi” in its name.

    Right-click on your wireless adapter and select “Update Driver”. You will then have two options: “Search automatically for updated driver software” or “Browse your computer for driver software.” The automated option is recommended as it allows Windows to search the internet for the latest drivers. If an update is found, follow the prompts to install it. After the installation, it is advisable to restart your laptop to ensure that the changes take effect.

    Keeping your wireless adapter drivers updated can not only resolve connectivity issues but also enhance the performance of your laptop’s internet speed and stability. In an age where reliable internet connection is essential for both work and leisure, regular updates can significantly improve the user experience. Regularly checking for updates can prevent potential issues before they arise, ensuring your laptop performs at its best consistently.

  • 5 Effective Ways to Speed Up Your Windows PC

    5 Effective Ways to Speed Up Your Windows PC

    Manage Startup Programs

    One of the key strategies to enhance the performance of your Windows PC is to manage startup programs effectively. These applications are set to run automatically when your computer boots up, which can significantly affect both the boot time and the overall responsiveness of your system. When too many programs are loading simultaneously at startup, it can lead to a sluggish experience, preventing you from accessing essential functions promptly.

    To manage these startup applications, you can utilize the built-in Task Manager feature in Windows. To begin, right-click on the taskbar and select “Task Manager” from the context menu. If this is your first time using Task Manager, you may need to click on “More details” to view all processes, including the startup tab.

    Once you’re in the Task Manager, navigate to the “Startup” tab, where you will see a list of programs that are set to launch at startup. Here, you can examine their status, which indicates whether they are enabled or disabled. It’s prudent to review the list periodically and disable any programs that you do not need to start automatically. For example, applications such as cloud storage clients or instant messaging services can often be launched manually when needed, thus freeing up system resources during startup.

    To disable any program, simply right-click on it in the list and select “Disable”. This action will prevent it from automatically launching the next time your computer starts. It is essential to identify which programs you genuinely use frequently and to disable those that do not contribute to your daily workflow. Additionally, be cautious of system-related applications; disabling critical security software might expose your system to vulnerabilities.

    In essence, managing startup programs can lead to a noticeable improvement in your Windows PC’s performance. By streamlining which applications load at boot time, you can ensure a quicker startup and a more efficient computer experience overall.

    Uninstalling Unnecessary Applications

    As Windows PCs age and more applications are installed, users often find themselves with programs they rarely or never use. These unnecessary applications can significantly impact system performance, consuming not only storage space but also valuable system resources. When multiple applications run in the background, they can lead to slower startup times, delayed responsiveness, and an overall sluggish experience. Therefore, uninstalling applications that are no longer needed can be an effective method to speed up your Windows PC.

    To identify these applications, start by evaluating the installed programs on your system. Go to Settings > Apps > Apps & features. This will display a list of all installed applications. Take note of programs that you do not use or recognize. It is advisable to research any unfamiliar applications; sometimes, programs that seem extraneous are important for system operation.

    Once you’ve pinpointed the applications to uninstall, follow this step-by-step process to safely remove them:

    1. Open the Settings menu and navigate to Apps.
    2. Select Apps & features to see the full list of applications.
    3. Click on the application you wish to remove, and select the Uninstall button.
    4. Follow the prompts to complete the uninstallation process.
    5. Repeat for each application you wish to eliminate.

    It’s important to restart your PC after uninstallation is complete. This ensures that all changes take effect and any remaining files are removed from memory. By consistently managing your installed applications, you can maintain optimal performance on your Windows PC, enabling a smoother and faster user experience.

    Free Up Disk Space

    One of the most crucial steps to enhance the performance of your Windows PC is to free up disk space. Over time, as you install programs, download files, and use applications, your hard drive can fill up, leading to a decrease in efficiency. A cluttered disk can result in longer boot times, sluggish application responses, and an overall diminished user experience. Therefore, actively managing your disk space should be a priority for every PC user.

    To begin clearing up space, consider deleting temporary files that accumulate from regular system operations. These files can be removed manually or by using the built-in Disk Cleanup tool in Windows. This utility scans your hard drive for unwanted files and offers to eliminate them, potentially freeing up significant amounts of space.

    Another method involves identifying large files or folders that may not be essential to your day-to-day activities. Windows provides options to view storage usage by categories, allowing users to sort their files by size. Take this opportunity to archive or delete files, particularly large videos, installations, or duplicate images that may have been inadvertently saved in multiple locations.

    Utilizing external storage devices or cloud services is also an effective way to free up disk space. By transferring significant files that are not frequently accessed to these mediums, you can maintain a more organized and efficient local storage environment while still having access to your data when needed.

    Lastly, remember to uninstall programs that you don’t use or have outgrown. Many PCs host applications that are no longer necessary, consuming valuable disk space and potentially slowing down your system. Periodically reviewing and managing your installed programs can contribute significantly to maintaining optimal performance on your Windows PC.

    Reduce Visual Effects and Enhance Performance

    Windows operating systems are equipped with various visual effects that are designed to enhance user experience. However, on older machines or systems with limited hardware resources, these effects can significantly impede performance. Examples of such effects include animations, shadows, and transparency, which can consume valuable system memory and processing power. For users seeking to optimize their Windows PC, reducing or disabling these visual effects can lead to noticeable improvements in speed and responsiveness.

    To adjust these settings, users can navigate to the Performance Options menu. This can be accessed by right-clicking on the “This PC” icon, selecting “Properties,” and then choosing “Advanced system settings.” In the Advanced tab, there is a section labeled “Performance,” from which users can click on the “Settings” button to open the Performance Options window.

    Within the Performance Options, users will find several options to choose from. The first is the option to adjust for best appearance, which enables all visual effects. Alternatively, users can select “Adjust for best performance” to disable all effects entirely, or they can choose “Custom” to selectively disable specific features while retaining others. This customization allows users to find a balance between aesthetics and performance based on their individual needs.

    Common visual effects to consider disabling include fading menus, slide shows, and animations when minimizing and maximizing windows. By focusing on these adjustments, users will likely experience a key enhancement in their system’s overall performance, particularly when running resource-intensive applications or multitasking. This simple modification can be crucial for maintaining a smooth and effective computing experience on a Windows PC.

    Running Disk Cleanup Regularly

    Maintaining the performance of your Windows PC requires attention to routine tasks, one of which is conducting a disk cleanup. The built-in disk cleanup tool is an effective way to free up space, eliminate unnecessary files, and optimize your system’s performance. Regularly running this tool can significantly enhance the speed and efficiency of your computer.

    To initiate the disk cleanup process, navigate to the Start menu, type “Disk Cleanup” in the search bar, and select the tool from the results. After launching the application, you’ll be prompted to choose which drive to clean, typically the C: drive, where the operating system resides. After selecting the drive, the tool will scan for files that can be safely removed.

    The disk cleanup utility identifies various types of files, including temporary files, system files, Recycle Bin contents, and thumbnails. It also offers the option to delete previous Windows installations, which can take up significant space. It is crucial to review each category carefully, considering what files you truly want to delete. Selecting all unnecessary items will contribute to the restoration of valuable storage space.

    Performing disk cleanup not only generates free space but also enhances the overall performance of your PC. As files accumulate over time, they can slow down your system’s operations. By routinely clearing out these files, you minimize clutter, thereby streamlining processes and boosting responsiveness. It is advisable to schedule these cleanup sessions monthly or quarterly, depending on your usage habits, ensuring that your Windows PC remains in optimal working condition.